


Aloe vera is one of the most forgiving houseplants you can own — right up until it isn’t. Most aloe vera problems trace back to one issue: too much water in soil that doesn’t drain fast enough. Master aloe vera plant care by getting light, water, and soil right, and this succulent will reward you with a decade or more of healthy growth, a steady supply of “pups,” and gel you can actually use.
This guide goes deeper than the usual “keep it in sun and don’t overwater it” advice. Below, you’ll find exact soil recipes, a diagnostic table for troubleshooting sick leaves, a season-by-season care calendar, and the specific mistakes that kill more aloe plants than anything else. Whether you’re wondering how to care for aloe vera plant specimens on a windowsill or in a desert garden bed, everything you need is here.
Quick Answer: Aloe Vera Care at a Glance
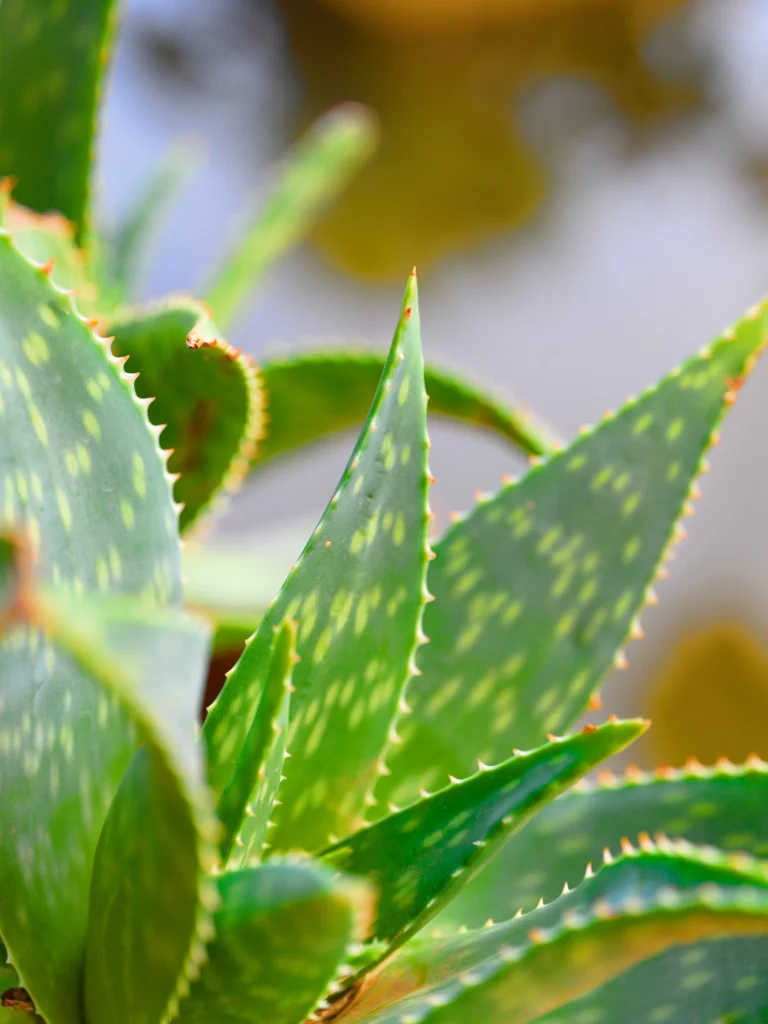
If you only have 30 seconds, here’s what matters most.
Light: 6–8 hours of bright, indirect sunlight; some direct morning sun is fine Water: Soak deeply, then let the top 2–3 inches of soil dry out completely before watering again Soil: Fast-draining cactus/succulent mix, ideally pH 7.0–8.5 Temperature: 55°F–80°F (13°C–27°C); protect from frost Humidity: Low humidity is fine; good air circulation prevents rot Fertilizer: Light feeding, spring through summer only Toxicity: Aloe vera contains saponins and anthraquinones, which are toxic to cats and dogs if ingested
Keep this box in mind as a baseline. Every section below expands on the “why” behind these numbers so you can adapt to your specific home, climate, and plant.
Understanding Your Aloe Vera Plant
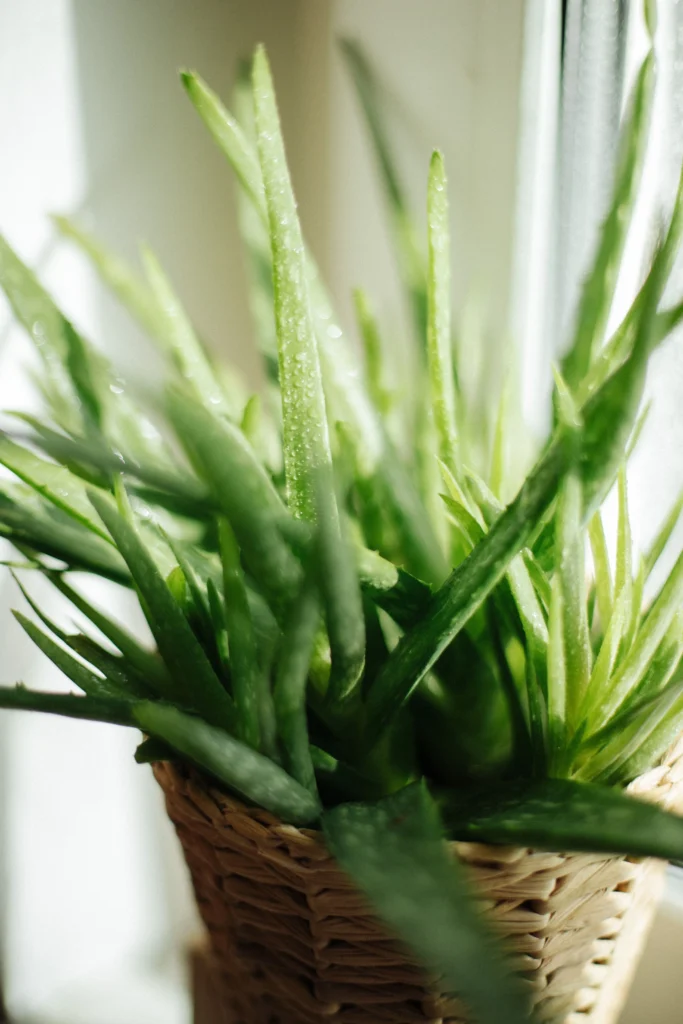
Before troubleshooting problems, it helps to understand what aloe vera actually is. Aloe vera (botanically Aloe barbadensis Miller) is a succulent native to the Arabian Peninsula, adapted over thousands of years to survive in rocky, fast-draining, drought-prone soil under intense sun.
That evolutionary history explains almost every care rule in this guide. Aloe vera uses a photosynthetic pathway called Crassulacean Acid Metabolism (CAM), which allows it to keep its leaf pores (stomata) closed during the hot daytime and open at night to minimize water loss. In plain terms: this plant is built to go a long time between drinks. Its thick, gel-filled leaves are essentially internal water tanks, which is exactly why it tolerates neglect so much better than overwatering.
Understanding this single fact — that aloe is a water-storing desert plant, not a tropical foliage plant — reframes nearly every care decision you’ll make.
Aloe Vera Plant Care: Light Requirements
Answer first: Aloe vera needs 6–8 hours of bright, indirect light daily, and tolerates a few hours of direct morning sun. Without enough light, it survives but grows slowly, stretches toward the light source, and rarely produces pups.
Indoors, a south-facing or west-facing window is ideal. East-facing windows can work if the plant sits close to the glass. If your home doesn’t offer strong natural light — common in apartments or during short winter days — a supplemental grow light for 6–8 hours daily will keep growth steady.
Watch for these visual cues that your aloe’s light isn’t right:
| Sign | Meaning | Fix |
|---|---|---|
| Pale, stretched, leaning stems | Not enough light (etiolation) | Move closer to a window or add a grow light |
| Leaves turning reddish or orange-brown | Too much direct, intense sun (sun stress) | Move back a few feet from the window or add sheer curtain filtering |
| Leaves staying flat and thin instead of plump | Insufficient light for photosynthesis to build up water reserves | Increase daily light exposure gradually |
Expert tip: When moving an aloe plant from a shadier spot to a sunnier one — including transitioning it outdoors for summer — do it gradually over 7–10 days. Sudden exposure to intense sun can scorch leaves that haven’t built up protective pigmentation yet.
Watering Guide: The “Soak and Dry” Method
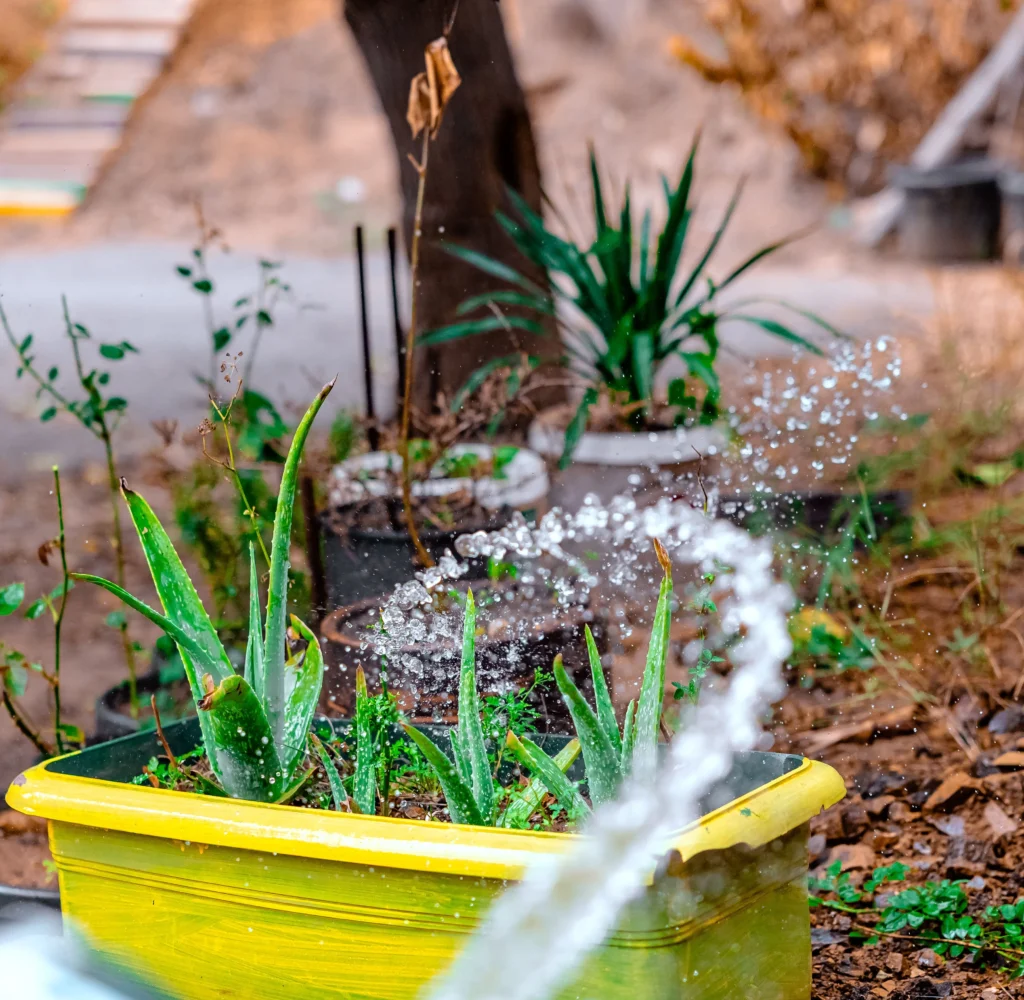
Answer first: Water deeply only when the top 2–3 inches of soil are completely dry, then let all excess water drain away. This is called the “soak and dry” method, and getting it right is the single biggest factor in aloe vera survival.
Here’s the exact process:
- Check soil moisture by inserting a finger or wooden skewer 2–3 inches deep. If it comes out with damp soil clinging to it, wait.
- When dry, water slowly at the base of the plant — never directly onto the leaves or into the central rosette — until water runs freely from the drainage holes.
- Let the pot drain completely; never let it sit in standing water.
- Wait until the soil is bone-dry again before repeating. Depending on your home’s humidity and season, this is typically every 2–3 weeks indoors, sometimes longer in winter.
Why the base, not the leaves? Water pooling in the crown (the center where leaves emerge) creates a moist, low-airflow pocket that is the most common site for crown rot — a fungal or bacterial infection that can kill an otherwise healthy plant within days.
A quick comparison of what overwatering vs. underwatering actually looks like:
| Overwatered Aloe | Underwatered Aloe |
|---|---|
| Mushy, translucent, or dark leaves | Thin, wrinkled, or curling leaves |
| Foul smell near the base | Leaves feel light and papery |
| Leaves collapsing or falling over | Slow but otherwise normal-looking growth |
| Soil staying wet for days after watering | Soil pulling away from pot edges |
Expert tip: Terracotta or unglazed clay pots are genuinely better than plastic or glazed ceramic for aloe vera. Their porous walls let excess moisture evaporate through the sides of the pot, not just the drainage hole — a meaningful buffer against overwatering mistakes.
Soil & Pot Selection
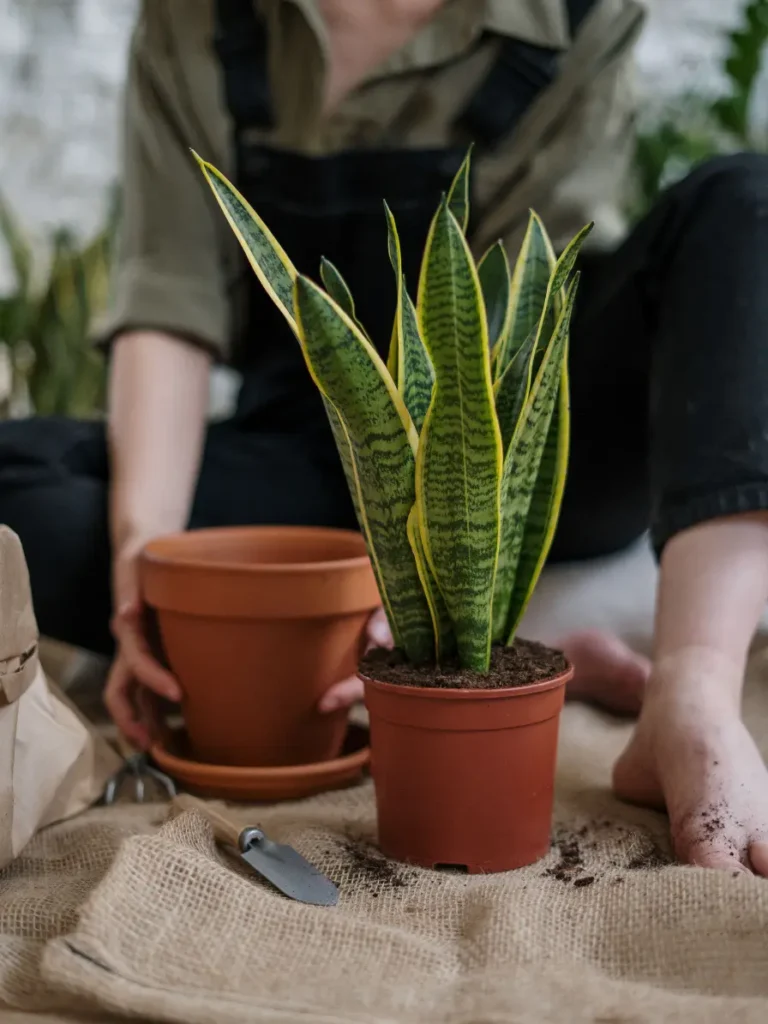
Answer first: Aloe vera needs gritty, fast-draining soil — standard potting mix alone will suffocate its roots. A DIY cactus/succulent blend combined with a pot that has drainage holes is non-negotiable.
DIY Aloe Soil Recipe
Skip generic bagged “succulent soil” if you want the best results. Mix your own:
- 1 part standard potting soil (for basic nutrients and structure)
- 1 part coarse sand or poultry grit (for weight and fast drainage)
- 1 part perlite or pumice (for aeration and preventing compaction)
This blend mimics the loose, rocky terrain aloe evolved in and keeps water moving past the lateral roots instead of pooling around them, where rot begins.
Choosing the Right Pot
| Pot Material | Pros | Cons |
|---|---|---|
| Terracotta/unglazed clay | Wicks excess moisture through walls; classic aloe choice | Dries out faster, needs slightly more frequent watering |
| Plastic | Lightweight, retains moisture longer | Higher overwatering risk; must pair with excellent soil |
| Glazed ceramic | Attractive, heavier/stable | No wall-drainage; drainage hole is essential |
Whatever material you choose, a pot without a drainage hole is a hard no for aloe vera. If you love a particular pot without one, use it as a decorative outer sleeve and keep the plant in a plain nursery pot with holes inside it.
Fertilizing Aloe Vera
Answer first: Aloe vera is a light feeder. Fertilize only during the active growing season (spring through summer), using a diluted, balanced houseplant or succulent fertilizer — and skip it entirely in fall and winter.
Because aloe evolved in nutrient-poor, rocky soil, it doesn’t need — and can be harmed by — frequent or strong fertilizing. Over-fertilizing shows up as salt buildup (a white crust on the soil surface) and can burn root tips, causing brown leaf edges.
A simple feeding schedule:
- Spring and summer: Feed once every 4–6 weeks with a succulent or cactus fertilizer diluted to half the label’s recommended strength.
- Fall and winter: Stop fertilizing entirely. The plant’s growth naturally slows, and unused nutrients can accumulate and damage roots.
- Newly repotted or propagated plants: Wait at least 4–6 weeks before the first feeding to avoid stressing new roots.
Expert tip: If you notice a white, crusty buildup on the soil surface, flush the pot with plain water (letting it drain fully) to clear excess mineral salts before your next feeding.
Temperature & Humidity
Answer first: Aloe vera thrives between 55°F–80°F (13°C–27°C) and has no special humidity requirements — it actually prefers drier air with good circulation over humid, stagnant conditions.
Aloe vera is not frost-tolerant. Even brief exposure to temperatures below 40°F (4°C) can cause tissue damage that looks like translucent, water-soaked patches on the leaves. If you keep aloe outdoors seasonally, bring it inside before nighttime temperatures approach freezing.
Humidity is rarely a concern for this desert plant. In fact, consistently high humidity combined with cool temperatures raises the risk of fungal issues. Good airflow around the plant — not misting, which aloe doesn’t need — is the better investment.
Repotting Aloe Vera
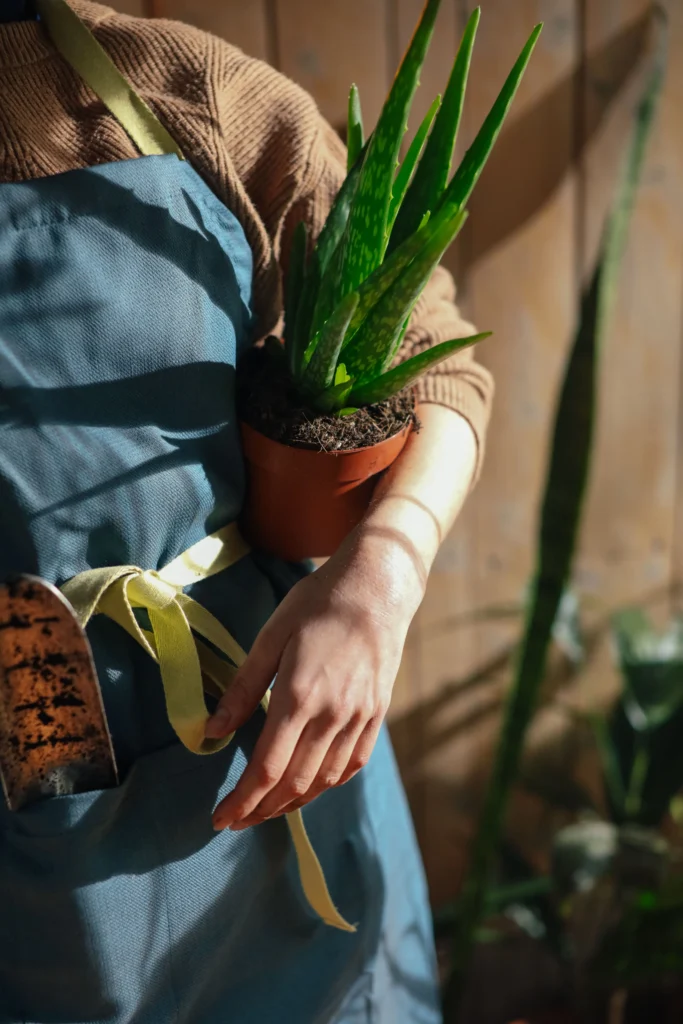
Answer first: Repot aloe vera every 2–3 years, or sooner if you see roots circling the pot’s edge, growth stalling, or the plant tipping over from being top-heavy. Spring is the best season to do it.
Signs it’s time to repot:
- Roots visible through drainage holes or circling the surface
- Water running straight through without being absorbed (a sign the roots have filled the pot)
- The plant looking oversized for its container or tipping easily
- Multiple pups crowding the parent plant’s base
How to repot:
- Gently remove the plant and shake loose soil from the roots.
- Inspect roots — trim away any that are mushy, black, or clearly rotted.
- Separate any pups you want to plant separately (see propagation below).
- Choose a pot only 1–2 inches larger in diameter than the root ball; oversized pots hold excess moisture longer than roots can use.
- Repot in fresh DIY succulent soil and wait about a week before the first watering, giving any root damage time to callus over.
Propagating Aloe Vera “Pups”
Answer first: Aloe vera reproduces by sending up small offsets called “pups” from its base. Once a pup has a few of its own leaves and is 2–3 inches tall, you can separate and replant it as a new, independent plant.
Step-by-step:
- Wait until the pup is at least 2–3 inches tall with several leaves of its own — smaller pups often don’t have enough root development to survive separation.
- Carefully remove the parent plant from its pot to access the base and root system.
- Locate where the pup connects to the parent via a rhizome or shared root, and gently separate it by hand or with a clean, sharp knife, keeping as much of the pup’s own root mass intact as possible.
- Pro-tip: Let the cut end air-dry and callus for 24 hours before planting. Planting a fresh, unhealed cut directly into moist soil significantly raises the risk of rot at the wound site.
- Plant the callused pup in dry succulent soil, and hold off on the first watering for about a week to let any remaining cut surface finish sealing.
- Treat it like a mature plant afterward — bright indirect light, then soak-and-dry watering once it’s established (usually 3–4 weeks in).
Indoor vs. Outdoor Care: Key Differences
Most care guides treat aloe as one universal plant. In practice, indoor and outdoor conditions create genuinely different risks.
| Factor | Indoor Care | Outdoor Care |
|---|---|---|
| Ideal placement | South- or west-facing window | USDA Hardiness Zones 9–11 for year-round outdoor growth |
| Primary risk | Drafty AC/heater vents causing stress | Frost damage and midday sun scorch |
| Light supplementation | Grow light recommended in winter or low-light homes | Natural full sun; afternoon shade helpful in extreme heat |
| Watering frequency | Every 2–3 weeks, adjusted for season | Every 1–2 weeks in active growing season; less in dormancy |
| Repotting frequency | Every 2–3 years | Can go longer in-ground; container-grown outdoor plants follow the same 2–3 year rule |
Indoors, keep pots away from heating and air conditioning vents — the rapid temperature and humidity swings stress the plant more than most people realize.
Outdoors, only Zones 9–11 support aloe vera as a true perennial. In cooler climates, grow it in a container you move indoors before the first frost, or treat it as a seasonal annual. Even in warm zones, unfiltered midday summer sun can scorch leaves; light afternoon shade prevents this without sacrificing growth.
Transitioning between the two: If you move your aloe outdoors for summer, do it gradually — a few hours a day in a shaded spot, increasing over one to two weeks — before leaving it in full sun. The reverse applies when bringing it back indoors in fall.
Seasonal Care Calendar
Aloe vera’s needs shift meaningfully across the year, something most care guides skip entirely.
| Season | What to Do |
|---|---|
| Spring | Resume regular watering as growth picks up; repot if needed; begin light fertilizing; gradually reintroduce outdoor plants to more sun |
| Summer | Peak growing season — watch soil moisture more closely in heat; watch for sun scorch on outdoor plants during heat waves; continue fertilizing |
| Fall | Reduce watering frequency as growth slows; stop fertilizing; bring outdoor/container plants inside before first frost |
| Winter | Water sparingly — often once a month or less indoors; provide supplemental light if daylight hours are short; keep away from cold drafts and heater vents |
Expert tip: Many people over-water in winter simply out of habit. Since aloe’s growth slows dramatically in low light and cooler temperatures, its water needs drop too — check soil moisture before watering rather than following a fixed calendar.
Common Problems & Solutions
Use this diagnostic table to identify what your plant is telling you:
| Symptom | Likely Cause | Solution |
|---|---|---|
| Mushy, brown, or translucent leaves | Root or crown rot (overwatering) | Stop watering immediately; unpot and trim rotted roots/leaves; repot in fresh dry soil |
| Thin, curled, wrinkled leaves | Underwatering/dehydration | Water deeply and resume a consistent soak-and-dry schedule |
| Leaves turning orange, red, or brown at tips | Sun stress or fertilizer burn | Move out of intense direct sun, or flush soil if fertilizer buildup is suspected |
| Leggy, stretched growth leaning toward light | Insufficient light (etiolation) | Move to a brighter spot or add a grow light |
| White cottony spots | Mealybugs | Dab affected areas with rubbing alcohol on a cotton swab; isolate the plant |
| No new pups after years of growth | Insufficient light or nutrients | Increase light exposure and resume seasonal light feeding |
| Plant toppling over | Root-bound pot or top-heavy growth | Repot into appropriately sized container; anchor with slightly deeper planting if needed |
Common Mistakes to Avoid
These are the errors that account for the vast majority of aloe vera failures:
- Watering on a fixed schedule instead of checking soil moisture. Aloe’s water needs change with season, light, and pot type — a calendar reminder isn’t a substitute for checking the soil.
- Using regular potting soil without amending it. Standard potting mix retains far more moisture than aloe roots can tolerate long-term.
- Choosing a pot without drainage holes. No amount of careful watering can compensate for water with nowhere to go.
- Watering into the crown or onto the leaves. This is one of the fastest routes to crown rot.
- Repotting immediately after propagating a pup. Skipping the 24-hour callus period invites rot before roots even establish.
- Assuming more sun is always better. Sudden, unfiltered direct sun — especially after moving a plant from indoors to outdoors — causes sunburn, not stronger growth.
- Fertilizing year-round. Feeding during dormancy contributes to salt buildup and root damage rather than growth.
Expert Tips
- Rotate your pot every couple of weeks if it sits near a single-direction light source, so growth doesn’t lean permanently in one direction.
- Harvest leaves properly if you use the gel: cut an outer, mature leaf close to the base rather than removing from the center, and let the cut end drain its yellow sap (which can irritate skin) before using the clear gel inside.
- Don’t panic over a single damaged leaf. Aloe vera can shed or lose an outer leaf without it signaling a broader problem — assess the whole plant before intervening.
- Group aloe with other succulents that share the same light and water needs, rather than tropical foliage plants that need more frequent watering; it simplifies your care routine and reduces the risk of overwatering by habit.
- Watch new pups closely for their first month — this is when insufficient callusing or premature watering is most likely to cause losses.
Frequently Asked Questions
Can aloe vera grow in low light? It can survive in low light, but it won’t thrive. Expect slower growth, thinner leaves, and few or no new pups without adequate bright light.
How long can aloe vera live? With proper root management, repotting, and light, aloe vera plants commonly live 12 years or longer — some well-maintained specimens live for decades.
Is aloe vera toxic to pets? Yes. Aloe vera contains saponins and anthraquinones, compounds that are toxic to dogs and cats if ingested, and can cause vomiting, diarrhea, or lethargy. Keep pots out of reach of curious pets.
Why is my aloe vera turning brown at the tips? This is most often sun stress or fertilizer salt buildup rather than a watering issue. Check both your plant’s sun exposure and your fertilizing frequency before adjusting watering.
Should I mist my aloe vera? No. Aloe vera doesn’t benefit from misting and prefers dry air with good circulation over added humidity.
Can I use my aloe vera’s gel directly from the leaf? Yes, for topical use on minor skin irritations, many people harvest gel directly from a mature outer leaf. That said, aloe’s internal sap (the yellow latex layer just under the skin) can cause skin irritation in some people and shouldn’t be ingested without professional guidance — the internal-use safety profile is less settled than its topical use, so if you’re considering ingesting aloe products, it’s worth consulting a healthcare provider first.
Final Summary
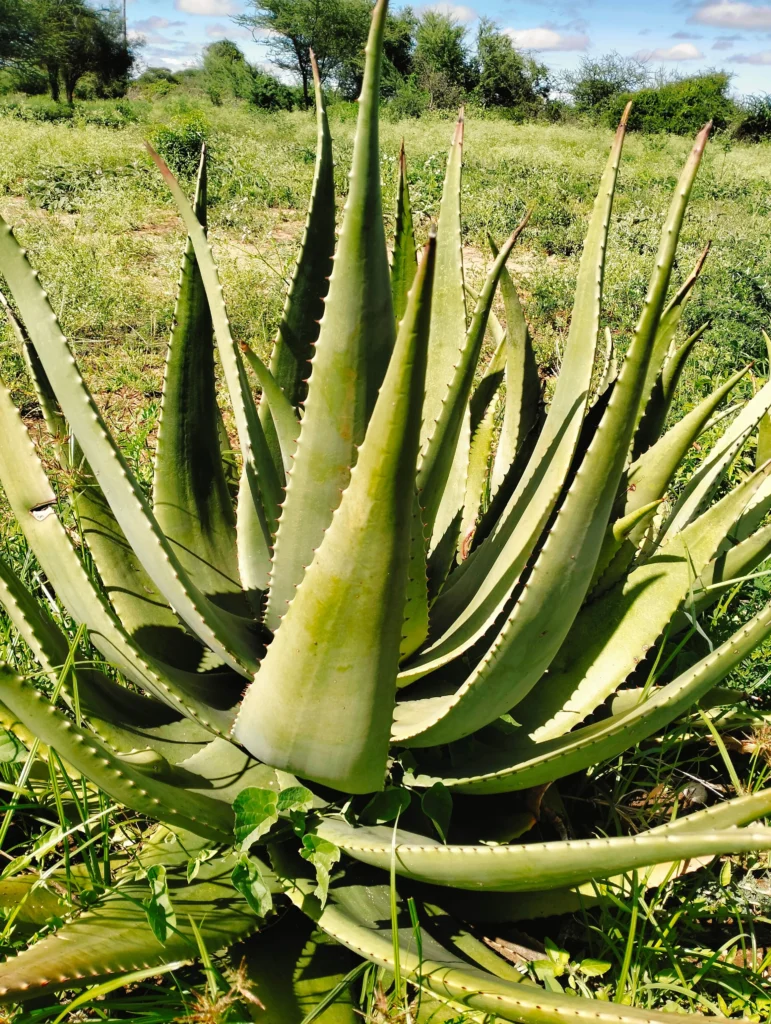
Healthy aloe vera plant care comes down to replicating the plant’s desert origins: strong indirect light, soil that drains fast, and water only when the plant genuinely needs it. Most problems — mushy leaves, rot, stalled growth — trace back to one root cause: too much water sitting where roots can’t use it fast enough.
Use the diagnostic and seasonal tables above as ongoing references rather than one-time reading. Aloe vera’s needs shift with the seasons, your home’s light levels, and the plant’s age, so revisiting these guides as conditions change will serve you far better than following a single fixed routine year-round.
For soil pH verification and region-specific growing advice, university extension horticulture programs and botanical garden resources are excellent, evidence-based places to cross-check recommendations for your specific climate.
Related reading: if you’re building out a broader succulent collection, this is a natural place to link to companion guides — for example, an internal link to a general “succulent soil and potting guide” fits naturally in the Soil & Pot Selection section, a link to a “best pots for indoor plants” article fits well in the Pot Selection subsection, and a link to a broader “propagating succulents” guide fits naturally at the start of the Propagation section.
What do you think of blogging? Did it benefit you?
There are no reviews yet. Be the first one to write one.
What do you think of blogging? Did it benefit you?
There are no reviews yet. Be the first one to write one.